
The quick answer
Place the receipt on a flat, contrasting surface with even light. Keep the full receipt inside the camera frame, capture it without blur, then review the merchant, date, total, items, categories, and payment account before saving.
Take a clear receipt photo in five steps
- 1
Flatten and light the receipt
Smooth folds, move away from strong shadows, and use a surface that contrasts with the paper. Avoid covering the merchant name or total with a finger.
- 2
Capture the complete receipt
Include every edge when possible, especially the header, date, line items, subtotal, discounts, taxes, tips, and final total. Hold the phone parallel to the paper so text does not narrow toward one end.
- 3
Let Higxel turn the photo into an expense
Higxel reads the visible text and places likely details into the expense fields. Clear printing usually needs less correction than faded thermal paper, handwriting, or a long crumpled receipt.
- 4
Review before saving
Check the merchant, purchase date, currency, final amount, items, item categories, and the account that paid. Pay special attention when the receipt shows several totals or includes both discounts and taxes.
- 5
Save it where you can find it later
Check the store or business name: Higxel needs it before saving a scanned receipt. Save the receipt together with all its item details, or choose Group expense if you want separate named expenses. Any items you do not group stay together under the store name.
What a receipt scan actually looks like in Higxel
The sample Northline Market receipt below is the same image used in the app walkthrough. It is demonstration data, not a customer’s financial record. The recording shows reading, editable review, and saving. Higxel does not save a scan automatically; optional grouping controls appear only after you choose Group expense.
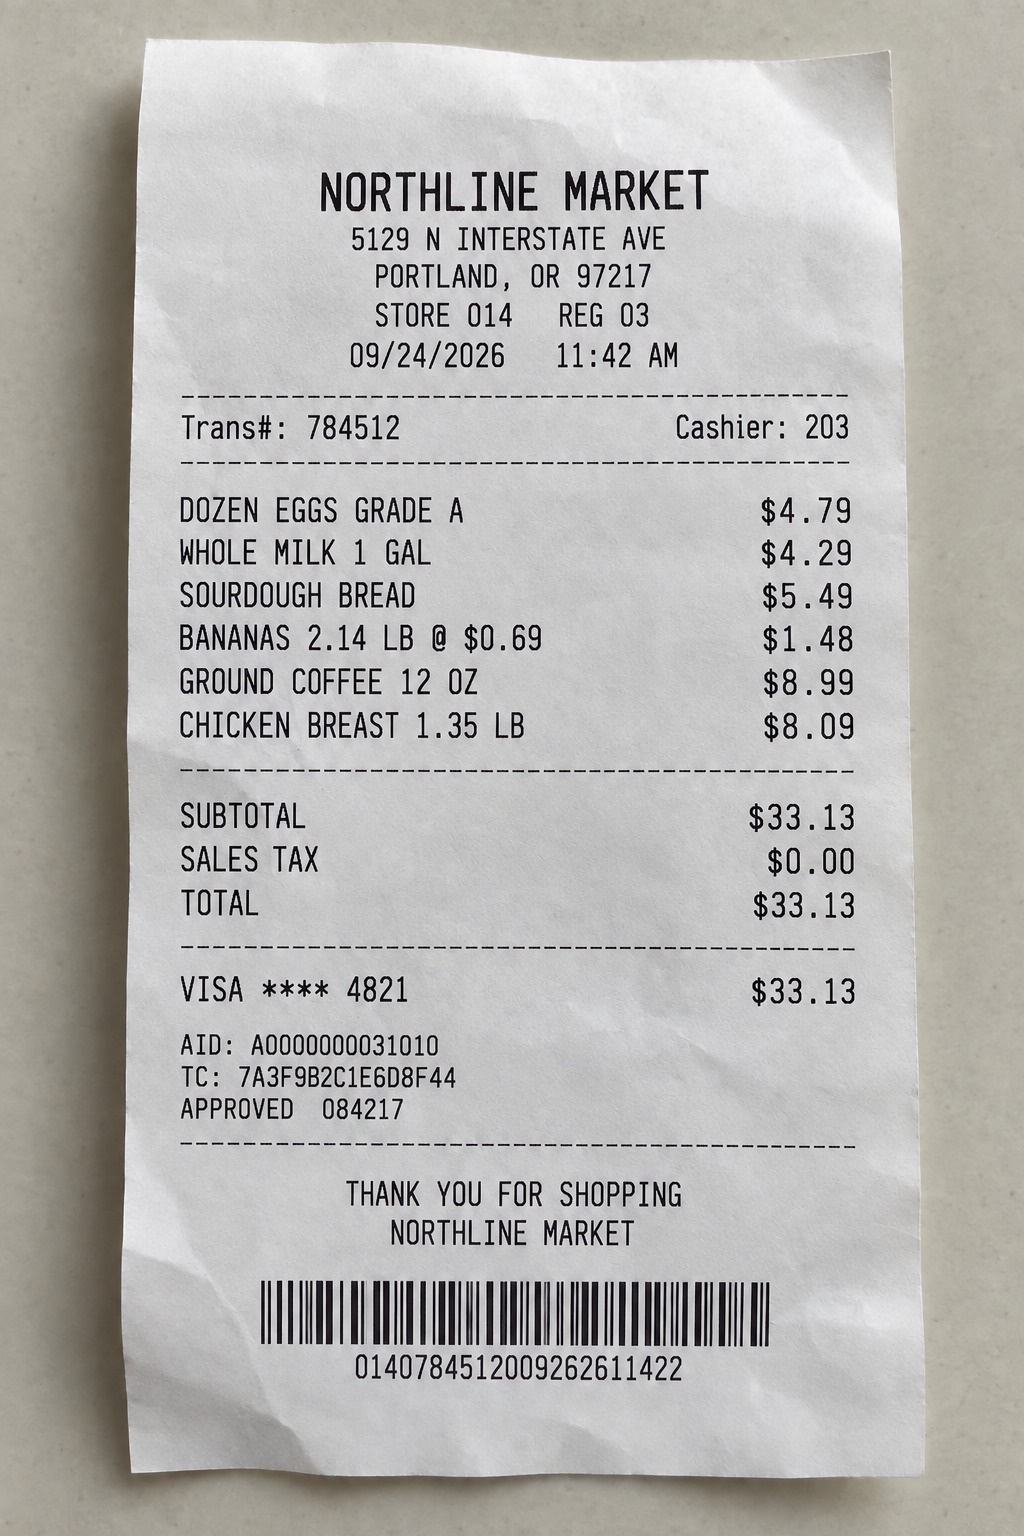
- Merchant, date, total, and item details are presented as fields you can check.
- You choose the payment account and correct or group items as needed.
- The expense reaches History only after you explicitly save it.
What should you review on a scanned receipt?
Is the store or service name recognizable?
Is this the purchase date rather than a print or delivery date?
Is it the amount actually paid, after discounts, tax, and tip?
Are quantities and prices attached to the correct names?
Does it describe the purpose of the spending?
Does the selected account match the real payment method?
Another example: a mixed-category receipt
Unlike the Northline sample above, imagine a receipt containing vegetables, cleaning supplies, and a phone charger. You can save it as one store-named expense while giving those items Groceries, Household, and Electronics categories. Reports use those item categories, so one receipt does not have to become one groceries total. Group the charger only if you want it saved as a separate named expense.
Grouping is optional. If you group 2 items on a 23-item receipt, those 2 save as a group expense and the other 21 stay together under the store name. Check quantities, discounts, GST/tax share, and the combined total before saving.
Common receipt-scanning problems
- Blurred text: steady the phone and capture again before processing.
- Long receipts: make sure the full purchase is visible; important fields can be lost outside the frame.
- Faded printing: use bright, even light and expect to review more carefully.
- Several totals: compare subtotal, tax, discounts, tip, and final paid amount.
- Mixed purchases: check each item’s category. Different categories do not require separate expense records.
What happens after Higxel reads the receipt
Higxel starts with a photo or receipt image from your Android phone and creates an expense for you to check. Fix any field, organize the items, choose how you paid, and save it to your history.
A receipt photo is one way to add spending without retyping every detail. Explore the Expense Tracker for Android, see the Receipt Scanner for Android, or learn how to organize receipts digitally afterward.
Install Higxel for Android and start with your first expense.